Step 4. Add Subject in Class.
After creating Departments, Classes and Lecturers, you can now add Subjects to this application using the “Subject” menu, as shown in Figure 4.1
Now to add new subject to the class you have to select the "Subject" menu and click "New Subject Name" as shown in Figure 4.1
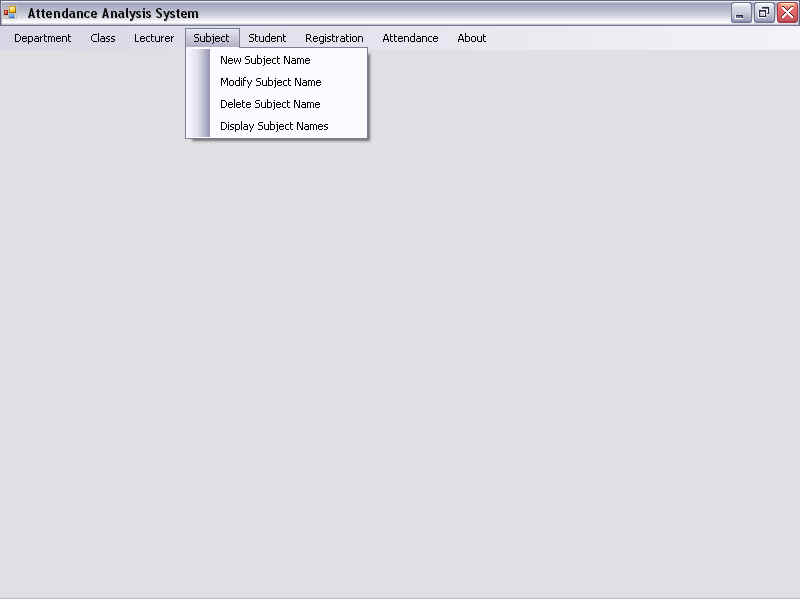
Figure 4.1 Subject Menu
To add new subjects we click the “Subject” menu & click on the “New Subject Name”. Next, you can see “New Subject Name” form in which you have to select Department Name, Class Name and Semester, and then enter the Subjects to be added, each on a new line. Finally click “Add” to add the new subject(s). As shown in Figure 4.2
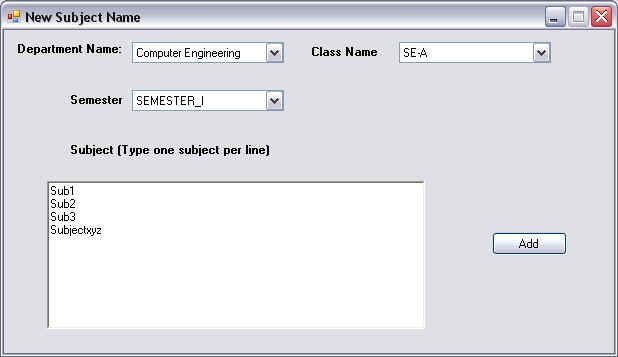
Figure 4.2 New Subject Name
Similarly, to modify a subject, click on the “Modify Subject Name” in the “Subject” menu as shown in Figure 4.1. Further to modify the subject name we select Department Name, Class Name, Semester, Existing Subject Name and type in the New Subject Name & click “Modify” as shown in Figure 4.3
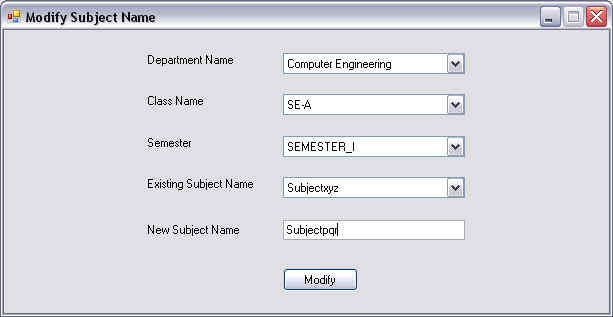
Figure 4.3 Modify Subject Name
If you require deleting a subject from the existing subjects then click “Delete Subject Name” from the “Subject” menu as shown in Figure 4.1. Then a “Delete Subject Name” form is displayed. Here we select the Department Name, Class Name, Semester, Subject Name and click the “Delete”, as shown in Figure 4.4.
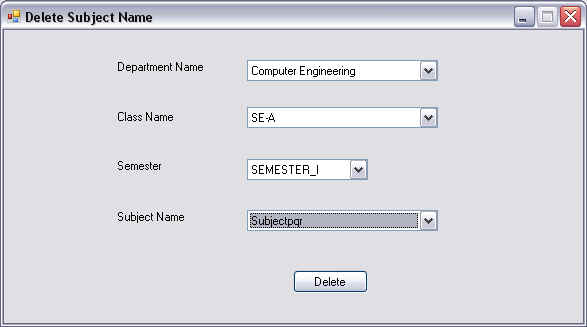
Figure 4.4 Delete Subject Name
Finally to display list of subject in a particular department, we click “Display Subject Names” from the “Subject” menu as shown in Figure 4.1. The “Display Subject Names” form is displayed on the screen. Here we select the Department Name, Class Name & the Semester and the list of all the subjects is displayed as automatically, shown in Figure 4.5
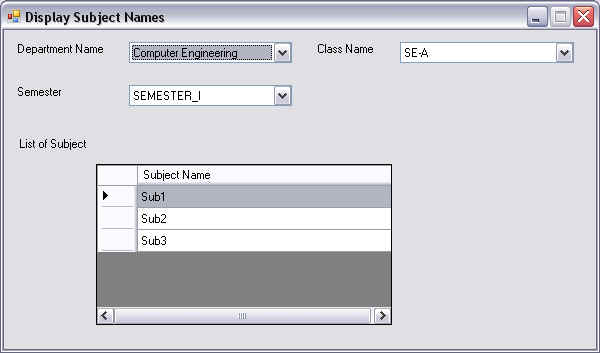
Figure 4.5 Display Subject Names